NEWS
Build Your Own BEAST Plex Server [2023 Guide]
Here’s a breakdown of why you should consider building your own beast Plex Server. What is the Plex Media Server? Plex is one of the most well-known media servers to date. But what does this mean for you?
Plex is a powerful media server that can organize and playback your personal media collection. Plex Media Server can be installed on your local computer or a remote server, allowing you to stream your media collections to various devices. This info will show you how to set up Plex Media Server on your computer.
How Does Plex Work?
Plex is a streaming media player that lets you organize and play your movies, TV shows, and music across devices. It’s available on many platforms, including PC, Mac, Android, iOS, and even the web. You can also use Plex to stream local media files from your computer to other devices in your home.
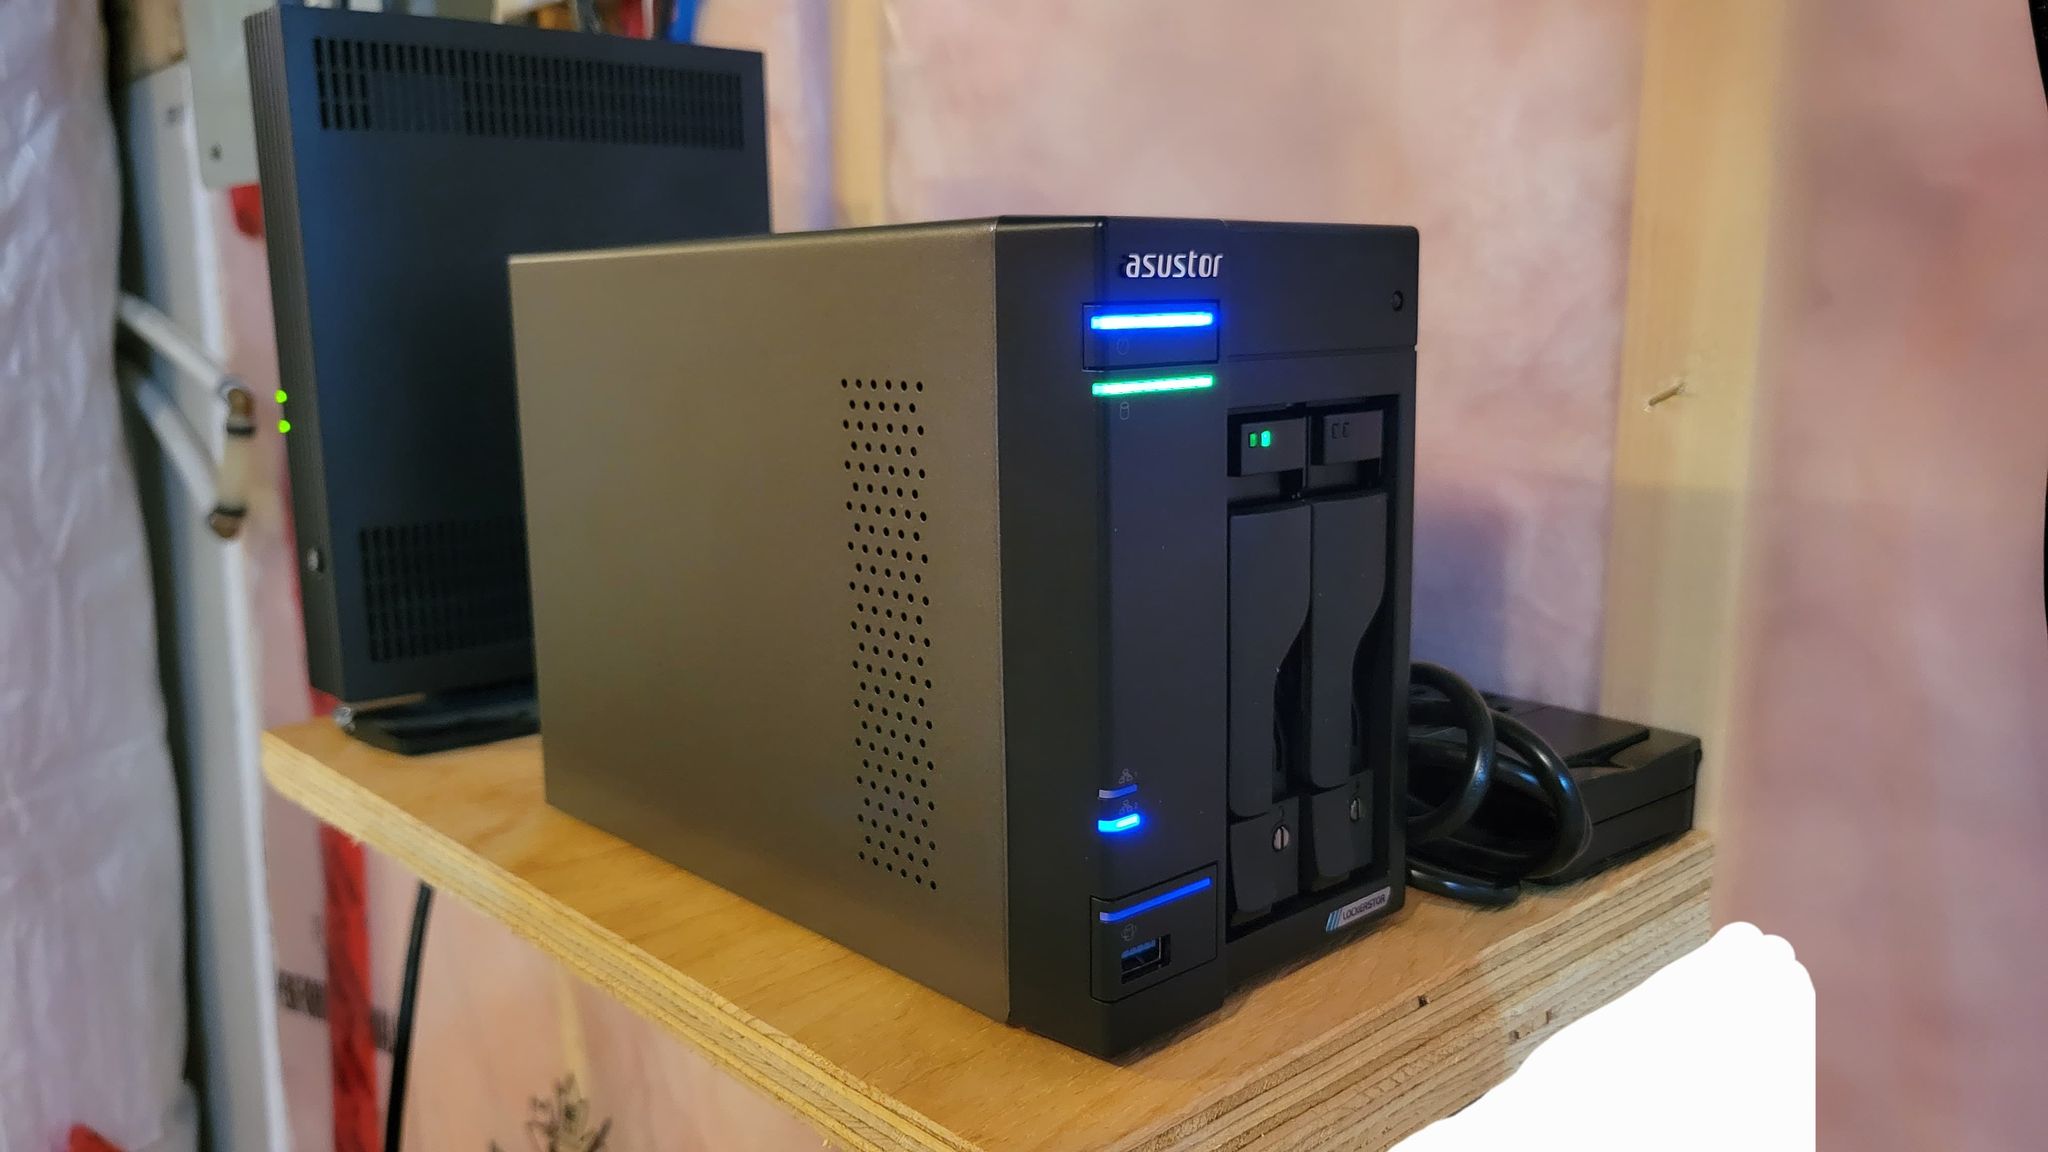
To start with Plex, you’ll need a server to store your media. The best approach to creating your BEAST Plex server is on a virtual computer. If you are familiar with networking, you can leverage an existing server alternatively.
Once you have your Server set up, you’ll need to add Plex Media Server. To do this, open the Settings menu on your Plex app and select Server> Add Server. Then, in the Add Server window, type in the hostname or IP address of your Server, choose a port (3390 by default) and click OK.
Now that Plex is installed and running on your Server, you’ll need to install the Plex for Windows app or Android app on any device in your home that wants to access content from your library. Next, open the app and sign in using your account name or email address associated with your Plex account.
You’ll now see all of your content in the Library overview screen:
To watch a movie or TV show from within the app: 1) select it from the Library overview screen 2) press play 3) find yourself inside the movie or TV show 4
Is It Legal to Use Plex?
In short, yes – you can use Plex to stream your media. There are a few things to keep in mind, though:
- Make sure your Plex server is legal. In most cases, streaming copyrighted material without permission is illegal. So check with your local copyright laws before starting your Plex server.
- Keep your media stored securely on your Plex server. Store your media offline or encrypted on the Server to avoid unauthorized access and theft.
- Use a VPN when streaming content outside the US or Canada. Stream geo-restricted content using a VPN to ensure you’re not breaking local laws!
- Use Plex Pass for added security and features on your Plex server. A Plex Pass allows you to unlock more features and security on your Server, including preventing others from viewing specific content without authorization (like children).
The Basics of Setting Up a Plex Server
This info will show you how to set up your Plex server on a Windows 10 PC. Plex is a streaming media player that can organize and stream your movies, TV shows, and music. It is available for personal use and as part of a home theater system.
- Download and install the Plex Media Server software.
- Open the Plex Media Server software and click on the settings button in the top left corner.
- Click on the Accounts tab in the settings window and add an account for yourself. You will need this account to access your Server later on.
- Click on the Servers tab and add your new Plex server in the Add Server dialog box. The IP address or hostname of your new Server should be entered here.
- Click on the Plugins tab and enable the following plugins: Transcoding (if you want to use transcoding features), WebClient (for remote access), Advanced Streaming (if you want more control over streaming quality), File System (to allow streaming of large files), and Headless (to run Plex without any graphical interface). Click on OK to close the plugin window.
- Under Settings > General, ensure that Enable UPnP is selected under Networking Options. This will allow devices in your network to share files with your Plex server automatically.
- Under Settings > Content Management, make sure that Autom
How to Set Up a BEAST Plex Server
Setting up a Build Your Own BEAST Plex Server can be a complex process, but with the right tools and steps, you can have your Server up and running in no time. This detail will show you how to set up both a Windows and Linux server and provide tips on optimizing your system for the best performance.
To begin, you will need to download the BEAST Plex software. Once downloaded, launch the installer and follow the on-screen instructions. Next, you must create a user account for the Plex Server. This user account will have full admin privileges over the Server. To make your user account, click on “Users” in the main menu of the Plex software, then click on “Add User.” Next, enter your login credentials (username and password) and click OK. You will now be able to log into your new user account from any computer on your network.
Now that we have created our user account, it is time to install the necessary components for our Plex Server. First, we will establish an operating system on our Server. We recommend using either Windows or Linux for Plex Servers due to their wide range of compatibility and performance options. We recommend installing Ubuntu 14.04 or Windows 10 64-bit for this guide. After installing your desired OS, it is time to install Plex Media Server. Download and install Plex Media Server from https://www.plexapp.com/downloads/. Once installed, open Plex Media.
Conclusion
If you’re in the market for a powerful Plex server, then BEAST is worth your consideration. In this article, I’ll tell you everything you need to know about Build Your Own BEAST Plex Server, from choosing the right hardware to setting up your configuration. By the end of this info, you’ll have everything you need to get started streaming content onto your new BEAST Plex server.